

Pick the right method
| Method | Best for | Power needed |
|---|---|---|
| Pressure canning | low-acid foods: vegetables, beans, meat, poultry, fish, soups | stove or propane burner |
| Water-bath canning | high-acid foods: fruit, jams, jellies, pickles, acidified tomatoes | stove or burner |
| Drying / dehydrating | fruit, vegetables, herbs, jerky | dehydrator, oven, or sun |
| Root cellaring | potatoes, carrots, beets, squash, apples, cabbage | none |
| Fermenting | sauerkraut, kimchi, pickles | none |
| Salting & smoking | meat, fish | smoker / none |
Canning: the one rule
Use a tested recipe — every time
Low-acid foods canned the wrong way can grow botulism, an invisible toxin that can paralyze and kill. You can't see, smell or taste it. Only use tested recipes from the USDA Complete Guide to Home Canning (free in our offline library), the National Center for Home Food Preservation, Ball/Bernardin, or your Extension office. Don't invent recipes, change thickeners or acids, or use "open kettle" or oven canning.
Pressure canning (low-acid foods)
Vegetables, beans, meat and fish must be pressure canned. Boiling water only reaches 212°F, and botulism spores need 240°F to be destroyed.
- Inspect jars for chips, and use new flat lids.
- Prepare food and fill jars per the recipe, leaving the stated headspace. Remove air bubbles, wipe rims, apply lids finger-tight.
- Put 2–3 inches of water in the canner (or as the manual says), load jars on the rack.
- Lock the lid and vent steam for 10 minutes before adding the weight or closing the petcock.
- Bring to the right pressure, then start timing. Keep pressure steady — if it drops below the target, bring it back up and start the time over.
- When done, turn off the heat and let pressure drop to zero on its own. Wait 10 minutes, open the lid away from you.
- Let jars sit undisturbed 12–24 hours. Check seals: the lid shouldn't flex.
Altitude matters (Spokane is ~2,000 ft)
| 0–1,000 ft | 1,001–2,000 ft | 2,001–4,000 ft | |
|---|---|---|---|
| Weighted gauge | 10 lb | 15 lb | 15 lb |
| Dial gauge (most vegetables) | 11 lb | 11 lb | 12 lb |
| Water bath (typical) | recipe time | + 5 min | + 5 min (3,001+ ft: +10) |
Always follow the altitude table in your specific recipe. Have dial gauges tested every year — many WSU Extension offices do it free.
Water-bath canning (high-acid foods)
- Fill the canner with water and preheat. Load filled jars on a rack.
- Water should cover jars by 1–2 inches.
- Bring to a full rolling boil, then start timing. Add time for altitude.
- Remove jars and let them cool undisturbed.
Tomatoes are borderline acidic — add bottled lemon juice or citric acid to every jar as the recipe says.

Drying
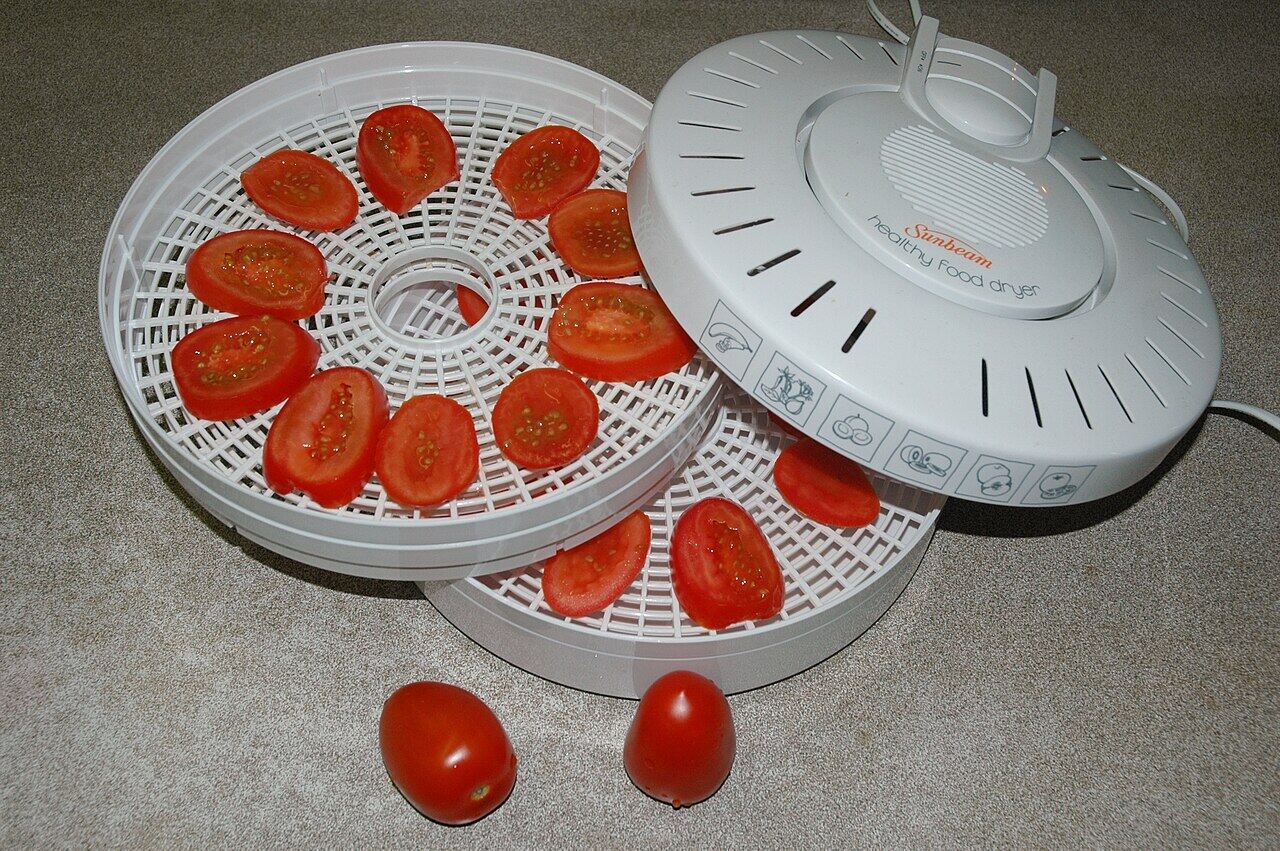
- Dehydrator: fruit at about 135°F, vegetables 125–135°F, jerky with meat heated to 160°F first (or steamed/roasted) to kill bacteria.
- Oven: lowest setting, door propped open an inch.
- Sun drying works in hot, dry, sunny weather — eastern Washington summers are good for it. Use screens and cover with cheesecloth against insects.
- Dry food until leathery or crisp, cool it, then store in airtight jars in a cool, dark place. Use oxygen absorbers for long storage.

Root cellaring
A cool (32–40°F), humid, dark space keeps many crops for months with zero power.
- Potatoes: 38–40°F, dark, humid. Keep away from apples (apples give off ethylene, which sprouts potatoes).
- Carrots, beets, parsnips: in boxes of damp sand or sawdust, 32–35°F.
- Winter squash, pumpkins, onions, garlic: warmer and drier, 50–55°F — a cool closet or basement shelf.
- Apples, cabbage: cold and humid, stored separately because of smells.
No cellar? A buried trash can, an unheated garage corner (that won't freeze), or a basement window well can work.
Fermenting
Sauerkraut needs only cabbage and salt: about 1½–2 teaspoons of salt per pound of shredded cabbage, packed tightly and kept under its own brine at 60–70°F for 3–6 weeks. Keep everything under the brine, and toss anything with fuzzy mold or a bad smell.
Free offline reference: USDA Complete Guide to Home Canning (193 pages, every tested recipe and table).
Sources: National Center for Home Food Preservation · USDA Complete Guide to Home Canning · WSU Extension — Food preservation